Ptarmigan - June 03, 2006 (under
construction)
Distance: approximately 4.8 miles each way (9.6 total)
Duration: Approximately 8 hours 30 minutes, including lunch -
plodding up.
Hikers: Just Don.
As noted in other pages, Ptarmigan is a favorite of mine. It is just
a short drive from my house, and it starts off immediately with a steep
incline. On this hike, I was by myself, and while it was both hazy and
cloudy, weather was not an issue. There still were some remnant snow
fields that had to be negotiated, and based on the tracks in the snow
fields, I was the only one to summit on this day. My hike up was very
slow, almost plodding, taking 5.5 hours to ascend, and only 3 hours to
descend. As usual, I took the old road up instead of what has become
the main trail. My loop hike
from 1995, says that the road is 0.8 miles shorter each way.
Mary Ellen Gilliland's "The New Summit Hiker", using the alternate
route, has this hike as 4.6 miles and 6 hours. Using the National
Geographic Topo, software, I come up with longer distances. As my hike
using the shorter route was between 4.8 and 4.9 miles, adding 0.8, I
would put the alternate route at 5.6 and 5.7 miles each way. Mary
Ellen also says the elevation gain is 3098, but I have it at 3420 just
from the starting and ending elevations. In fact though it is more than
that as there are two places where there is a descent, so the total is
3511'.
Here is the profile of the hike:

And the map:
I am trying something new on this writeup. Since this is a mountain I
hike regularly, I have divided the hike up into sections that I use to
keep track of where I am. I alternate the colors of the sections: red,
yellow, blue. I still used my techniques to use the track log
information to mark where I was at each hour interval of the hike.
Section 1: Trailhead to National Forest Bndy (red). 0.63 miles,
517' elevation gain
This first section of the trail, leaves the trail head, passes through
an Aspen grove, rejoins the road, leaves the road for a meadow that in
late May and early June has an amazing set of wildflowers. The climb up
this meadow is steep, leveling out just before the end of this section.
The end of this section is the actual entry to USNF land, indicated by
both a sign and the leaving of the meadow for a combination Pine /
Aspen ecology.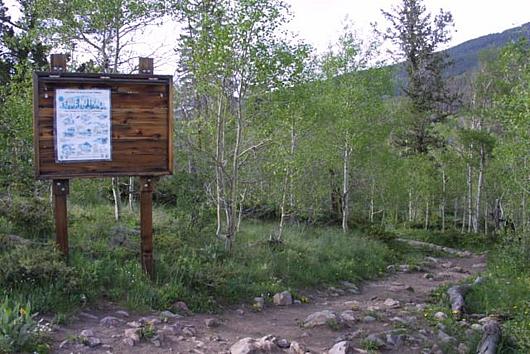
Section 2: to Power Lines (yellow): 0.22 miles, 74 foot elevation drop
This section on the way up is a brief respite from the climb that you
just did. However at the end of the day, if you have made it to the
summit, this 74 foot drop becomes a 74 foot gain and can really take
effort to cross. On the way up, you enter trees which stay with you
(other than some meadows) until you reach tree-line. The Aspens are
especially good for helping to cool you off. Keep an eye out on the
right and you may see some Columbines. This section ends at the power
lines.
Section 3: To beginning of main ascent(blue): 0.20 miles,
105 foot elevation gain.
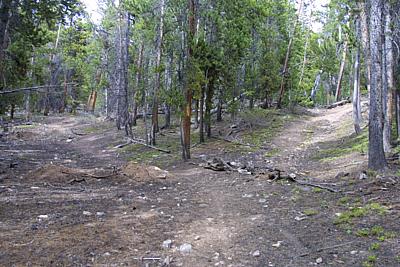
When you reach the power lines, turn hard to your right and follow the
road:
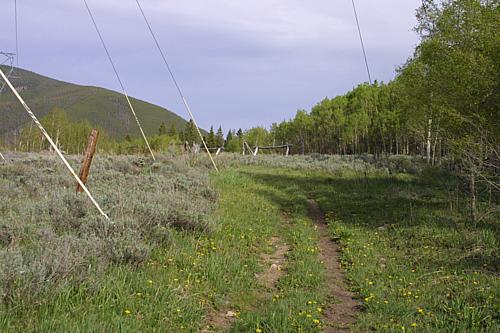
It is at this point you leave what is the most popular way up the
mountain, and is described in Mary Ellen's book as well as briefly on
my Ptarmigan Loop page. These trails do not come back together until
you reach the Wilderness Boundary, at approximately 3.2 miles and shown
with the waypoint "alt route" on the map.
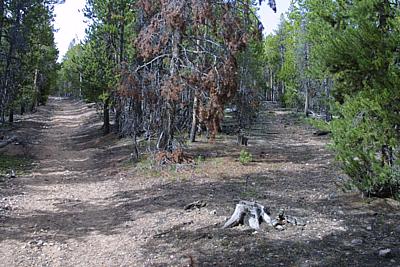
The road starts out under the power lines, then gradually turns to your
left and begins a gentle climb though meadows with both Aspen and Pine.
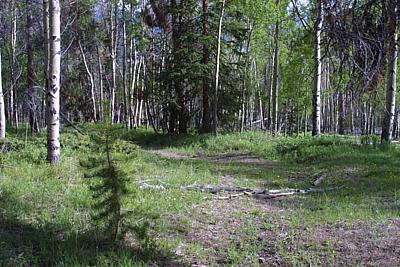
At the end of this portion, just as you leave the meadows, the road
turns sharply to the left (90 degrees) and a trail comes in from the
right. It is almost like this road ends in a "tee" but the trail on the
right seems to be narrower and is a trail rather than a road. Mark this
spot well for on the way down you don't want to miss it. Looking to the
right when you reach this point, it may have logs across it:
Looking to the left and uphill:

This is clearly much wider than what is downhill. Also as you start to
walk this, you will see every 20 feet or so a pit that has been dug
into the road. These pits appear to end at this junction. The pits will
be with you all the way to the false summit just before you re-join the
alternate route.
Section 4: First "straight" climb (red): .45 miles; 469 feet
This section is a cut into the mountain as the left hand side is always
uphill and the right always down hill. As you leave the point where you
see Aspens, keep an eye out and you will see on your left a road going
off straight and level. On the way back down, as you start to see
Aspens, you should start to look for where you have to take the turn
back to Section 3. As long as there are no Aspens around you, you need
not look. This section is a relatively straight portion of the trail.
It ends with a 90 degree turn to your right.
Section 5: Short "S" curve (yellow): 0.05 miles 48 feet
This short piece rates a section by itself as it is a drastic change.
The topo says only 48 feet gain, but I think it is somewhat more than
that. It is also one of the steepest sections on the hike. I have
no clue how a vehicle would have negotiated this before the pits were
dug. At the top the road turns 90 degrees to the right and levels out.
Section 6: Ridge (sort of ) (blue): .45 miles; 414 feet
In this portion, the road starts to follow the topology of the
mountain, more or less going up a ridge. The pitch is variable with
some spots being level and some climbing. If you wanted to camp and
brought your own water, there are many locations on this portion that
would make good camp grounds. On the way up this section, you will see
two roads (better defined than in section 4) leaving to your right.
This first road has no logs blocking it, but the absence of the pits
indicate it is not the correct route up. On a later hike, I will have
to explore where this goes.
The second road:
has logs across it (at least as of this writing). I am told that there
is a hunting camp up this route. Like the first road, I will have to
explore this. This road also appears not to have pits dug into it.
This section of the hike ends with the road turning to your right and
beginning a climb similar to section 4.
Section 7 (red): .28 miles; 284 feet
This section is another cut into the mountain and like section 4 is a
fairly straight and constant climb. It always seems a bit steeper to me
than section 4. This could be true or could just be that you are higher
up. This section has the uphill on your left versus section 4 where it
is on your right.
Section 8 (yellow): .48 miles; 431 feet
This section has you crossing the 1100 foot elevation. It is a somewhat
meandering section that swings to your left with varying pitches, some
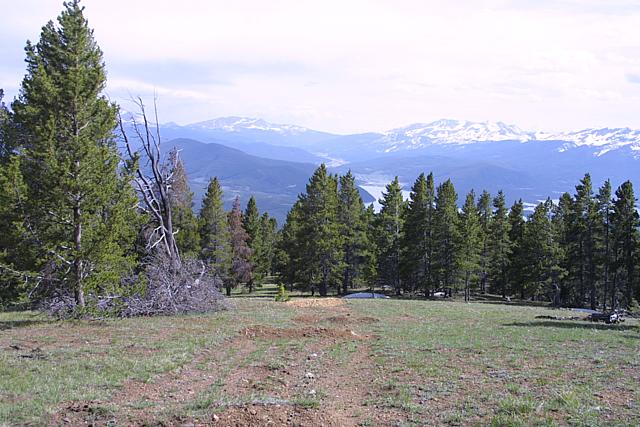
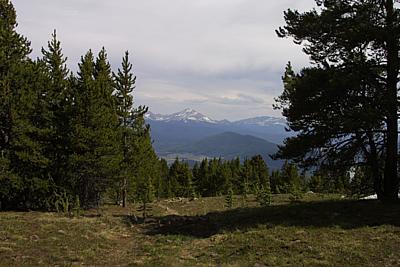
steep, some gentle. This section also brings you to your first high
alpine meadows. I usually eat lunch here looking south towards
Breckenridge over Lake Dillon. The views are awesome:
While there is no definitive end to this section, I break it at a point
I call the "rock garden"
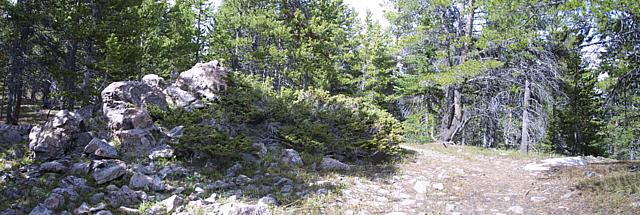
This is a level patch that goes between two sets of rock formations
(unfortunately the one on the right did not come out, so this picture
will be replaced on the next hike).
Section 9 (blue): 0.27 miles 190 feet
This section is not as steep as the last section, and also takes you
through south facing meadows,
As you level out on this portion, on your left will be the false summit
(which I have not visited) at 11,456 feet. It is at this point that the
road ends. There are no more pits that are dug. As you reach the end of
this level ground, you will leave this section in a descent.
Section 10: (red) 0.20 miles; 61 feet up, 37 feet down
This section in late May and early June will have snow which will
obscure the trail. Looking from the level spot to the north:
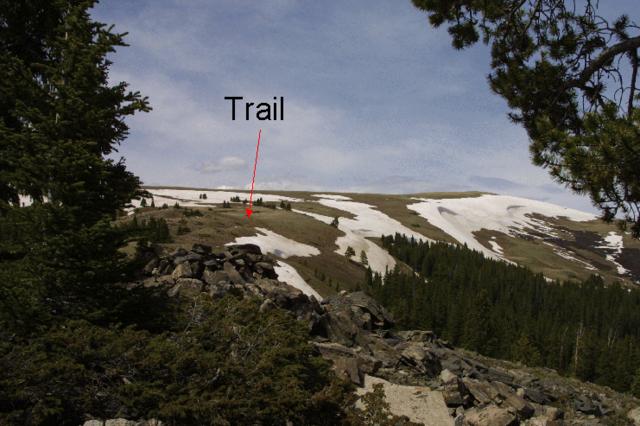
You see the above tree line meadows, and slightly to the left the
trail.
Where the arrow is in this picture is actually after the alternate
route has merged in. If the trail to this point is still under
snow, then I keep to the left (which is slightly higher) and work
around, using trees as landmarks. Be sure to look where you have come
from as well so that on the return journey you can find the road again
(I have done this twice now without any problem, but you should look in
case the trail is not visible). At the end of this section, you rejoin
the alternate route up, and enter Wilderness.
I have to admit, this picture was taken on last year's loop hike, hence
the people.
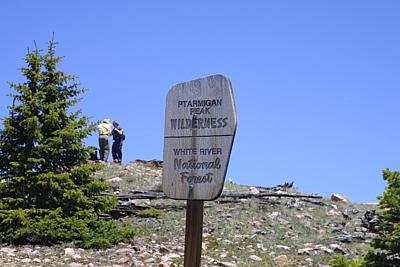
Section 10 ( yellow): .53 miles; 379 feet gain
This section starts at the Wilderness Sign / Trail junction and ends
where the Ptarmigan Pass trail leaves. From my memory of the last time
I was on this part of the trail, I dreaded it, but in fact I went right
up, faster I think than I was going on the earlier sections. Since the
last time I was up, signs have been placed. The sign can be seen from
some ways:
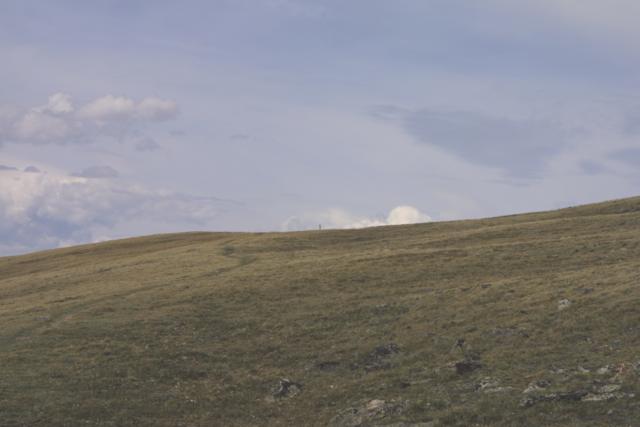
Hard to see in this picture, but it is sticking up on the horizon in
the center.
During this portion, you have the greatest chance of running into snow
fields as this is the last to go. I found a way around the snow.
The sign close up is:
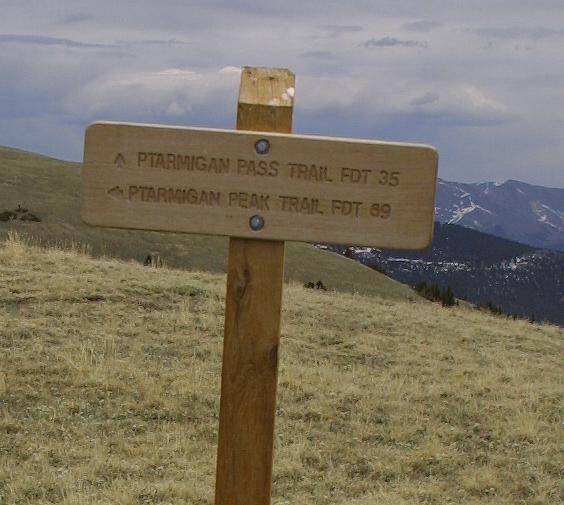
This is the end of Section 10.
Section 11 (blue): 1.16 miles; 679 feet
This is a long section, but the slope is very gentle. I felt like I
flew up. The trail was sometimes faint, sometimes well defined. As you
finally approach the top, the trail never goes to the summit, something
I don't understand. Instead you reach a sign:
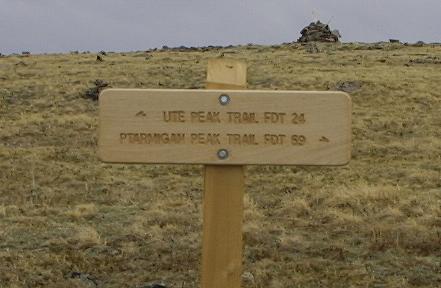
Note the Cairn behind the sign. This is the summit. Leave the trail at
this sign for a short walk to the summit.
Pictures stitched together from the summit can be found here
Pictures stitched together from lower down can be found here
Back to Hikes Page
Back to Snowedunder Home
Feedback to:

This page last updated June 5, 2006